This post is sponsored by Cost Plus World Market. All opinions are my own.
Spring is one of my favorite seasons. I love how the earth seems to come back to life after Winter, blooming, growing and brightening everything around us! For our family, Spring means a time to help things grow and watch the wonder of nature take place. Every Spring we get together to plant something. Sometimes it is a potted plant, sometimes a tree, or flowers, and even herbs in the kitchen. My kids love doing it with my husband and I and it’s a wonderful family activity that not only teaches kids about nature and life but gives something back to the earth as well.
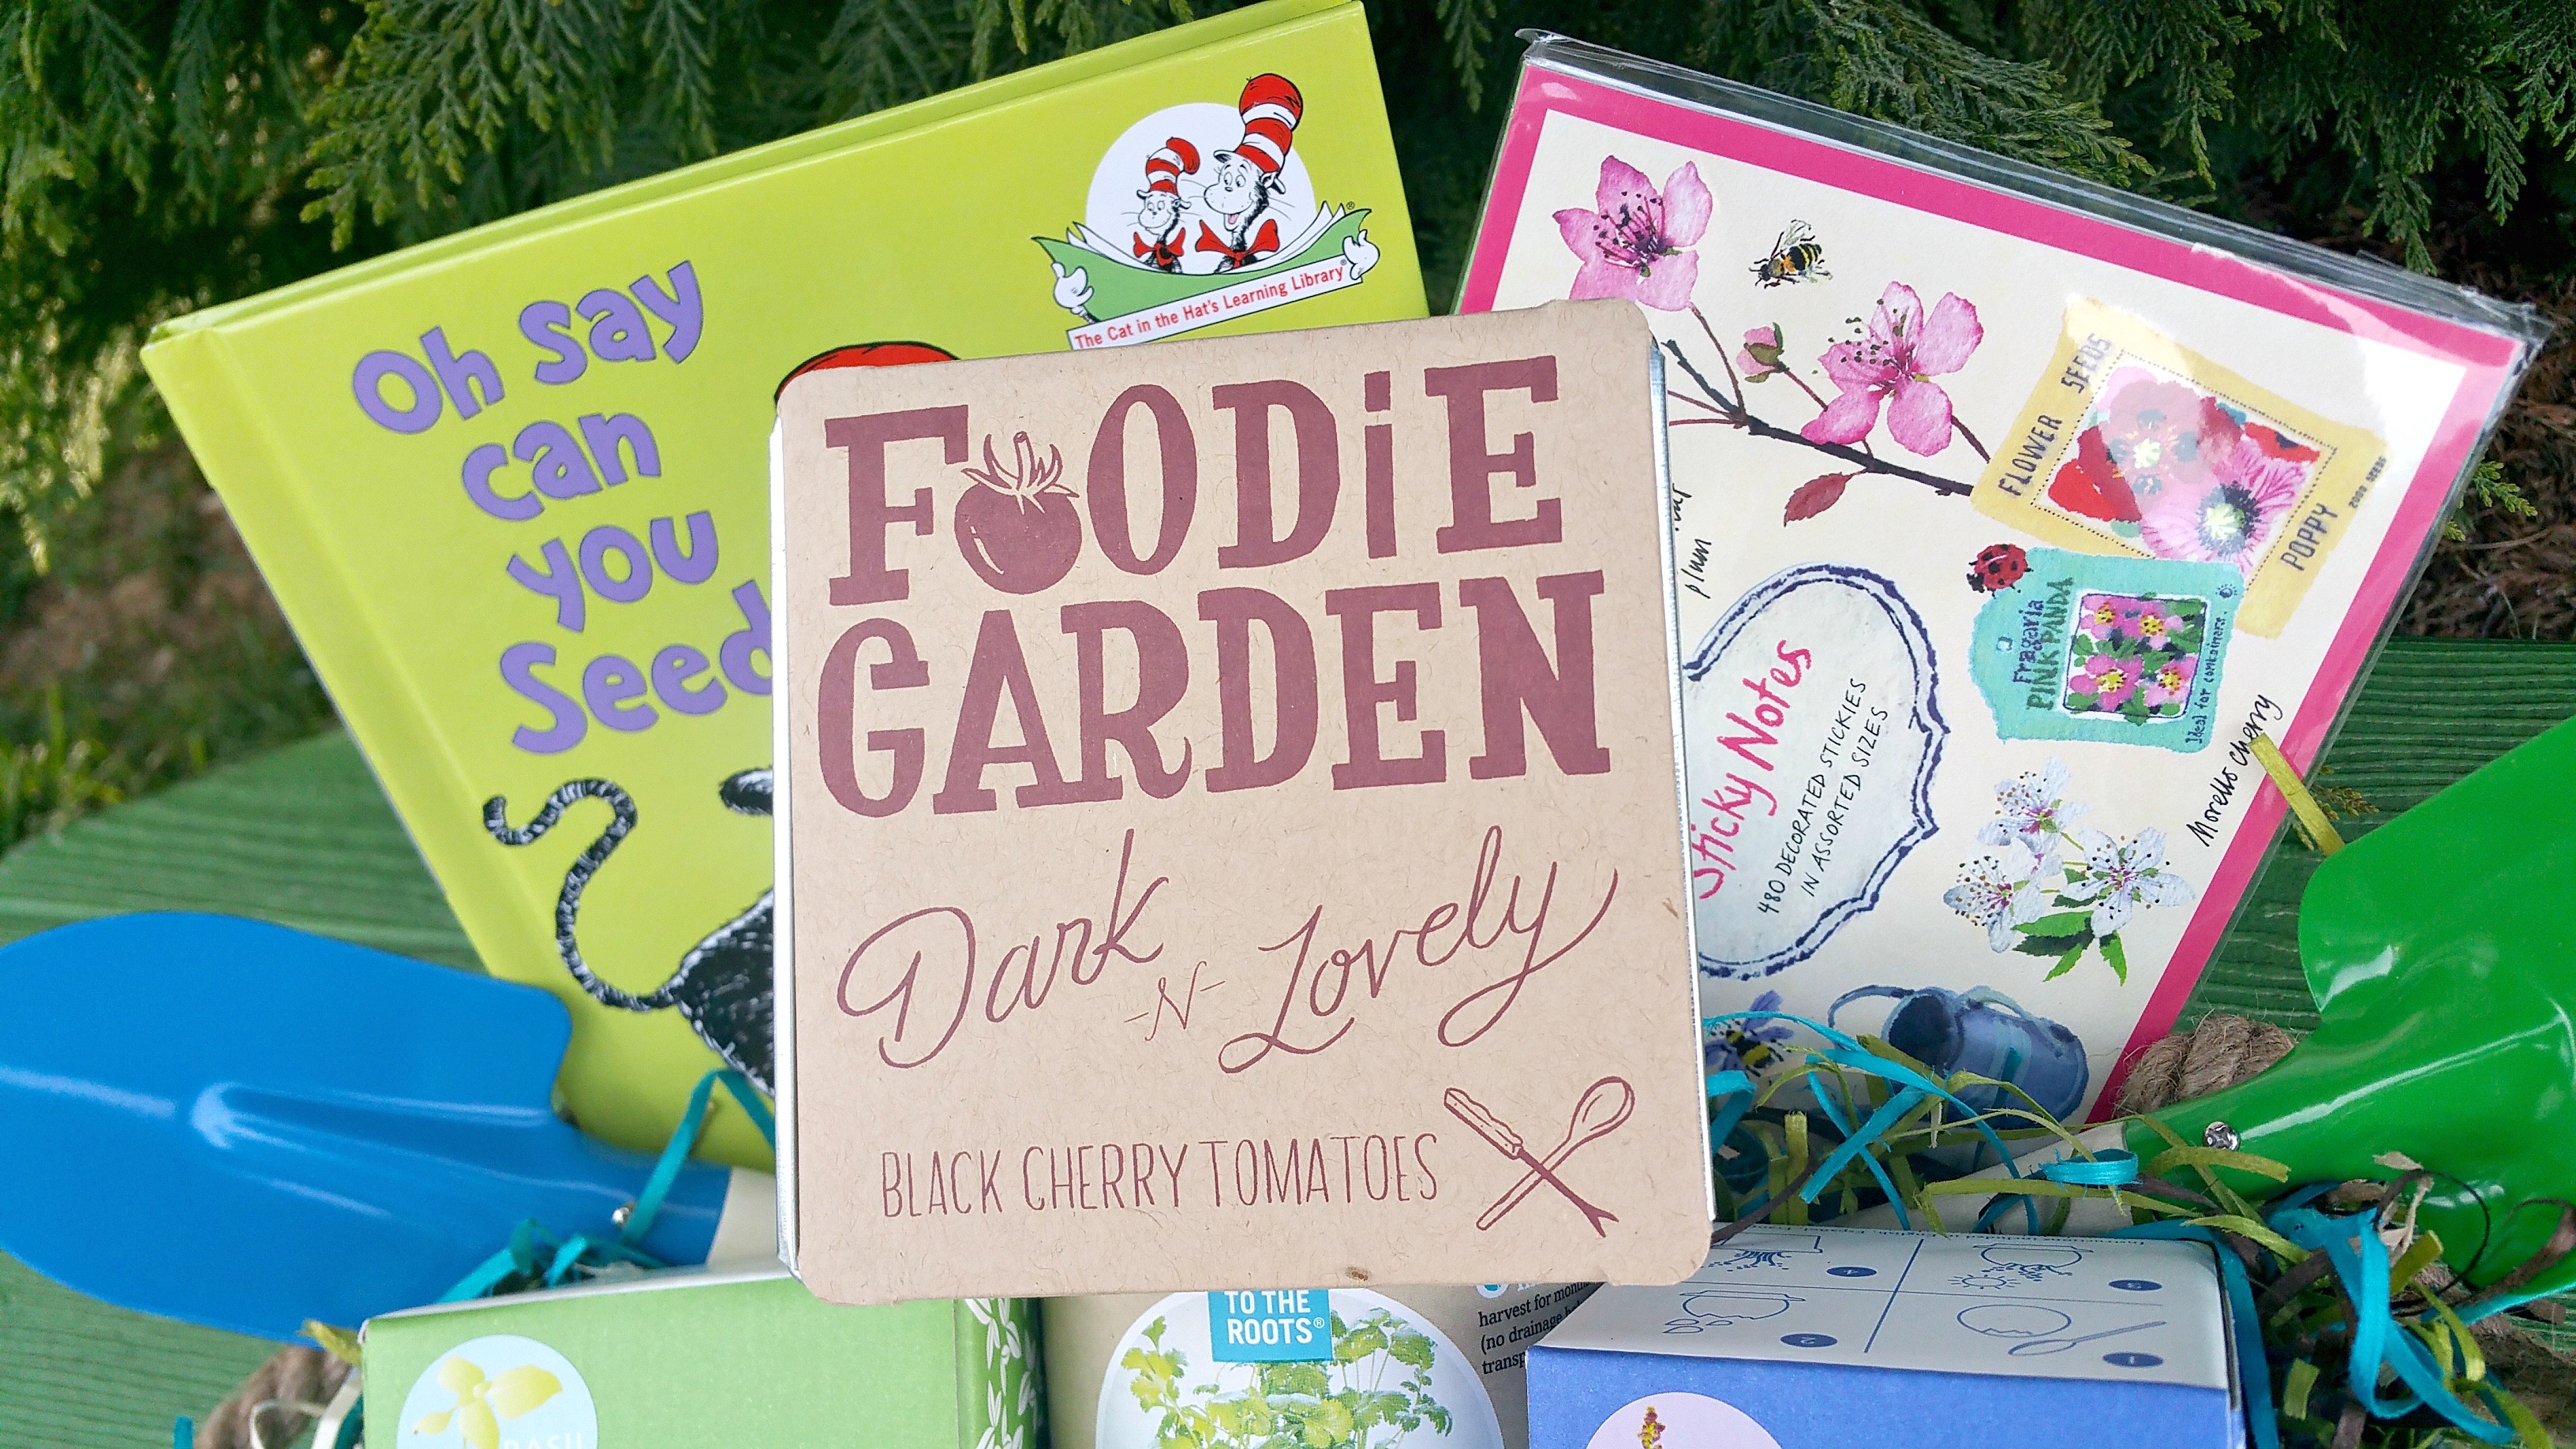
This year, we’ve decided to gift our love of Spring and gardening to someone else so I’ve created a fun Spring Bloom Gift Basket idea that fits well as a hostess or teacher gift, Easter basket or just for fun.
Find your fillers
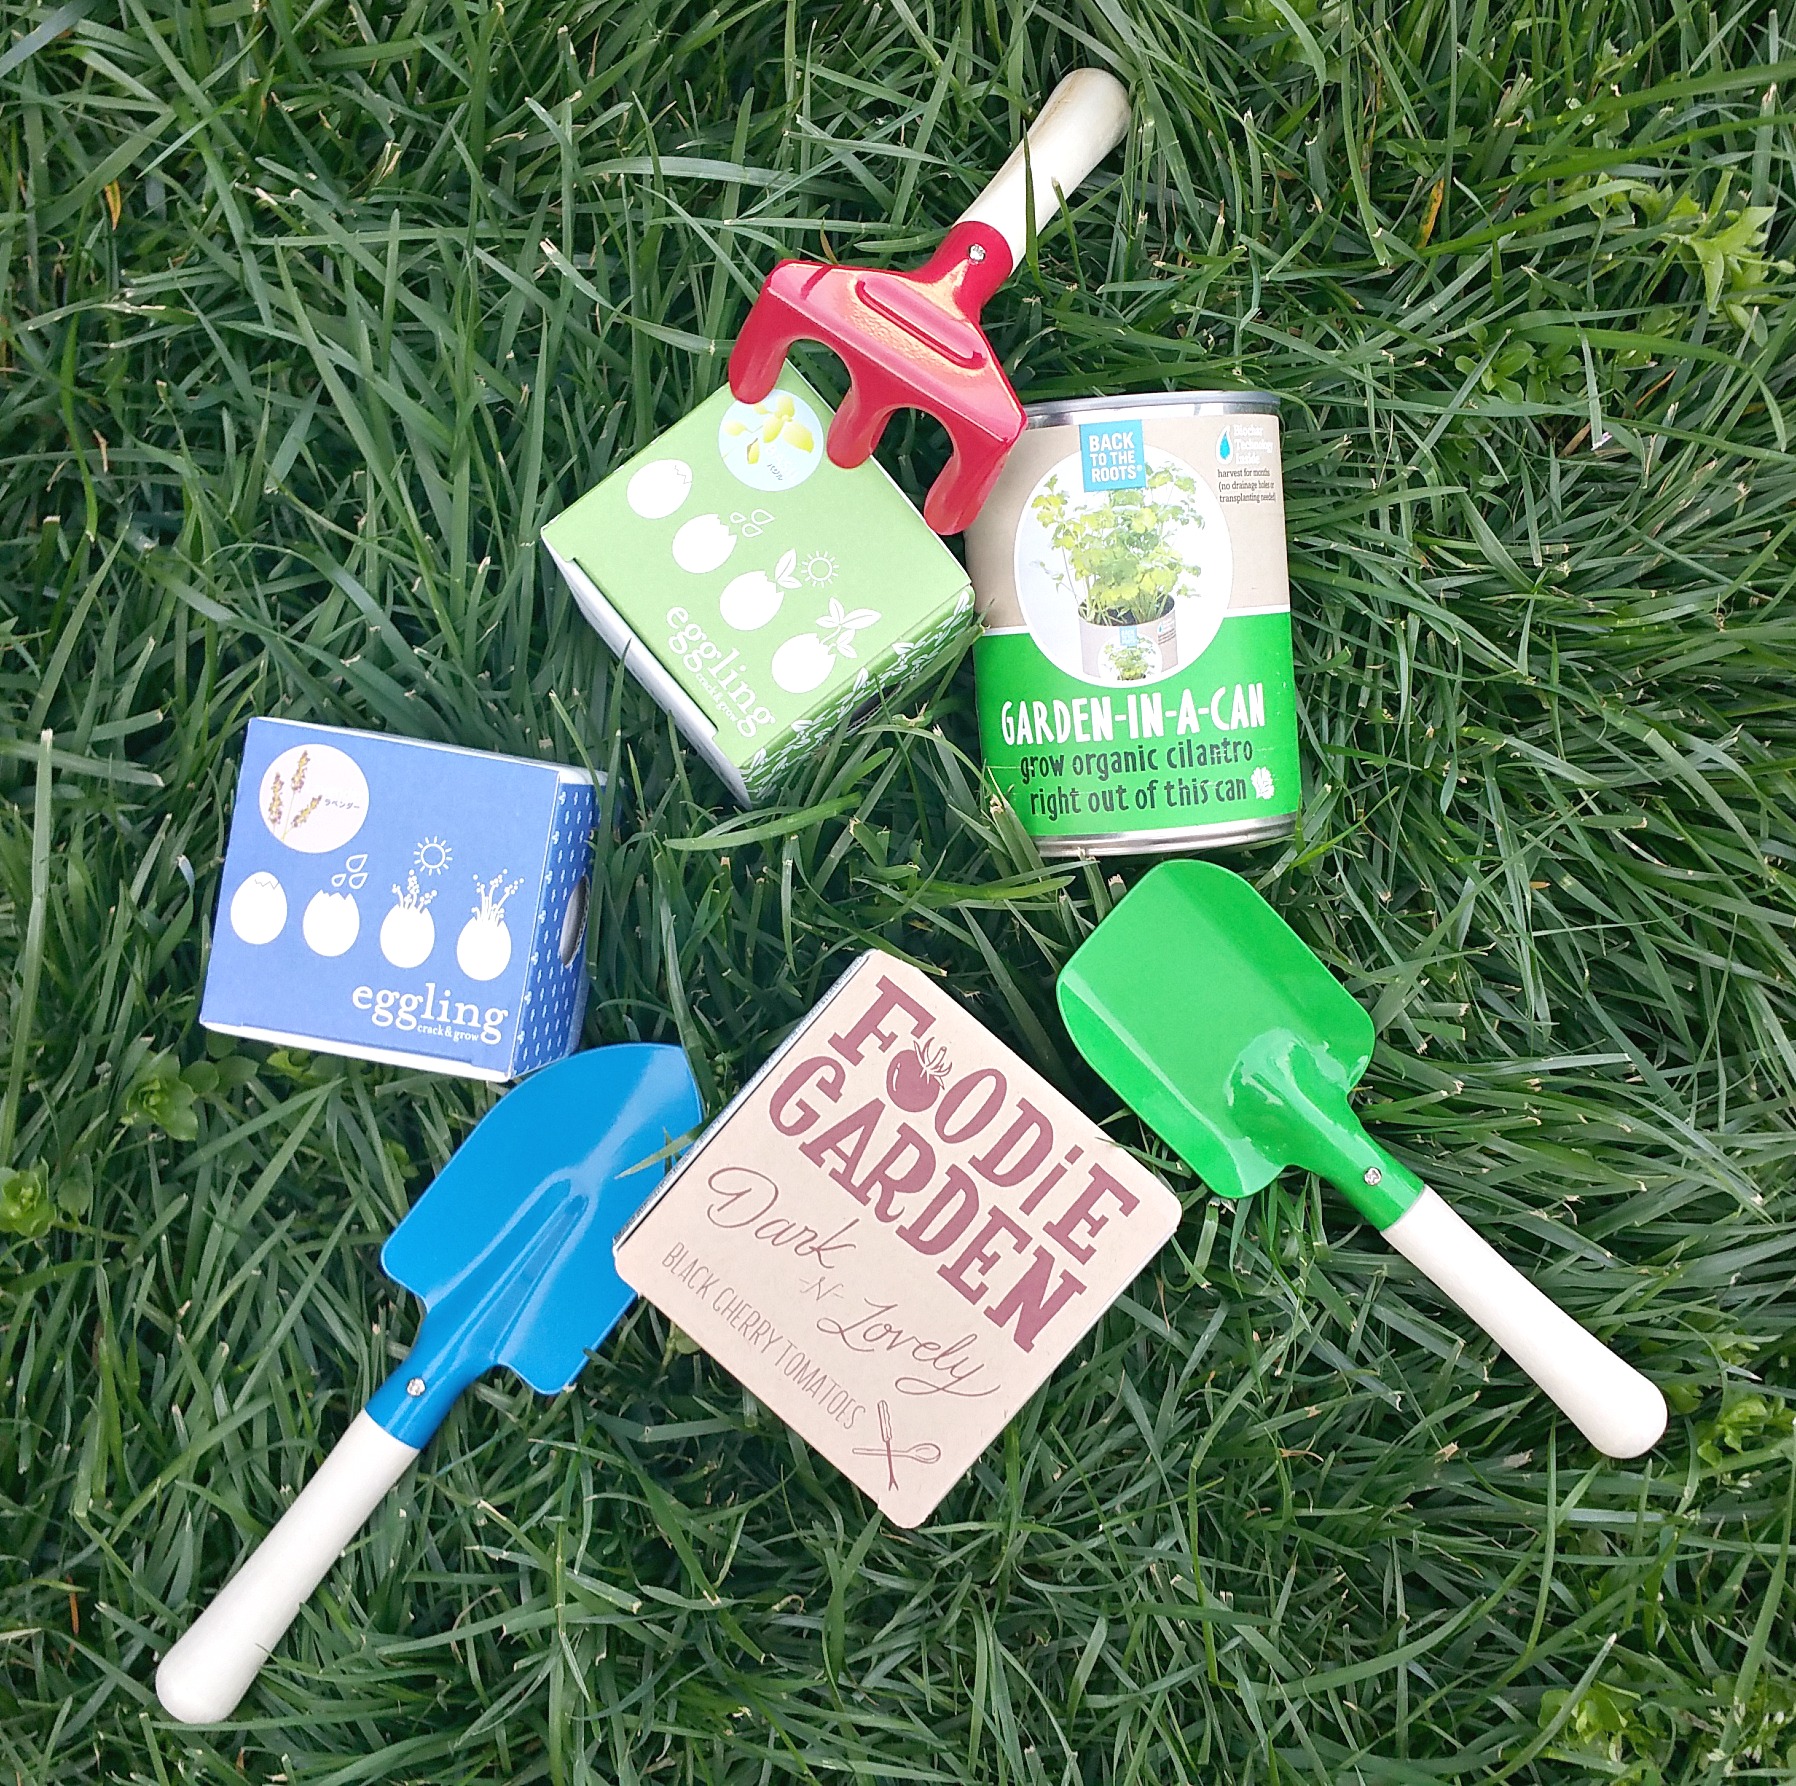
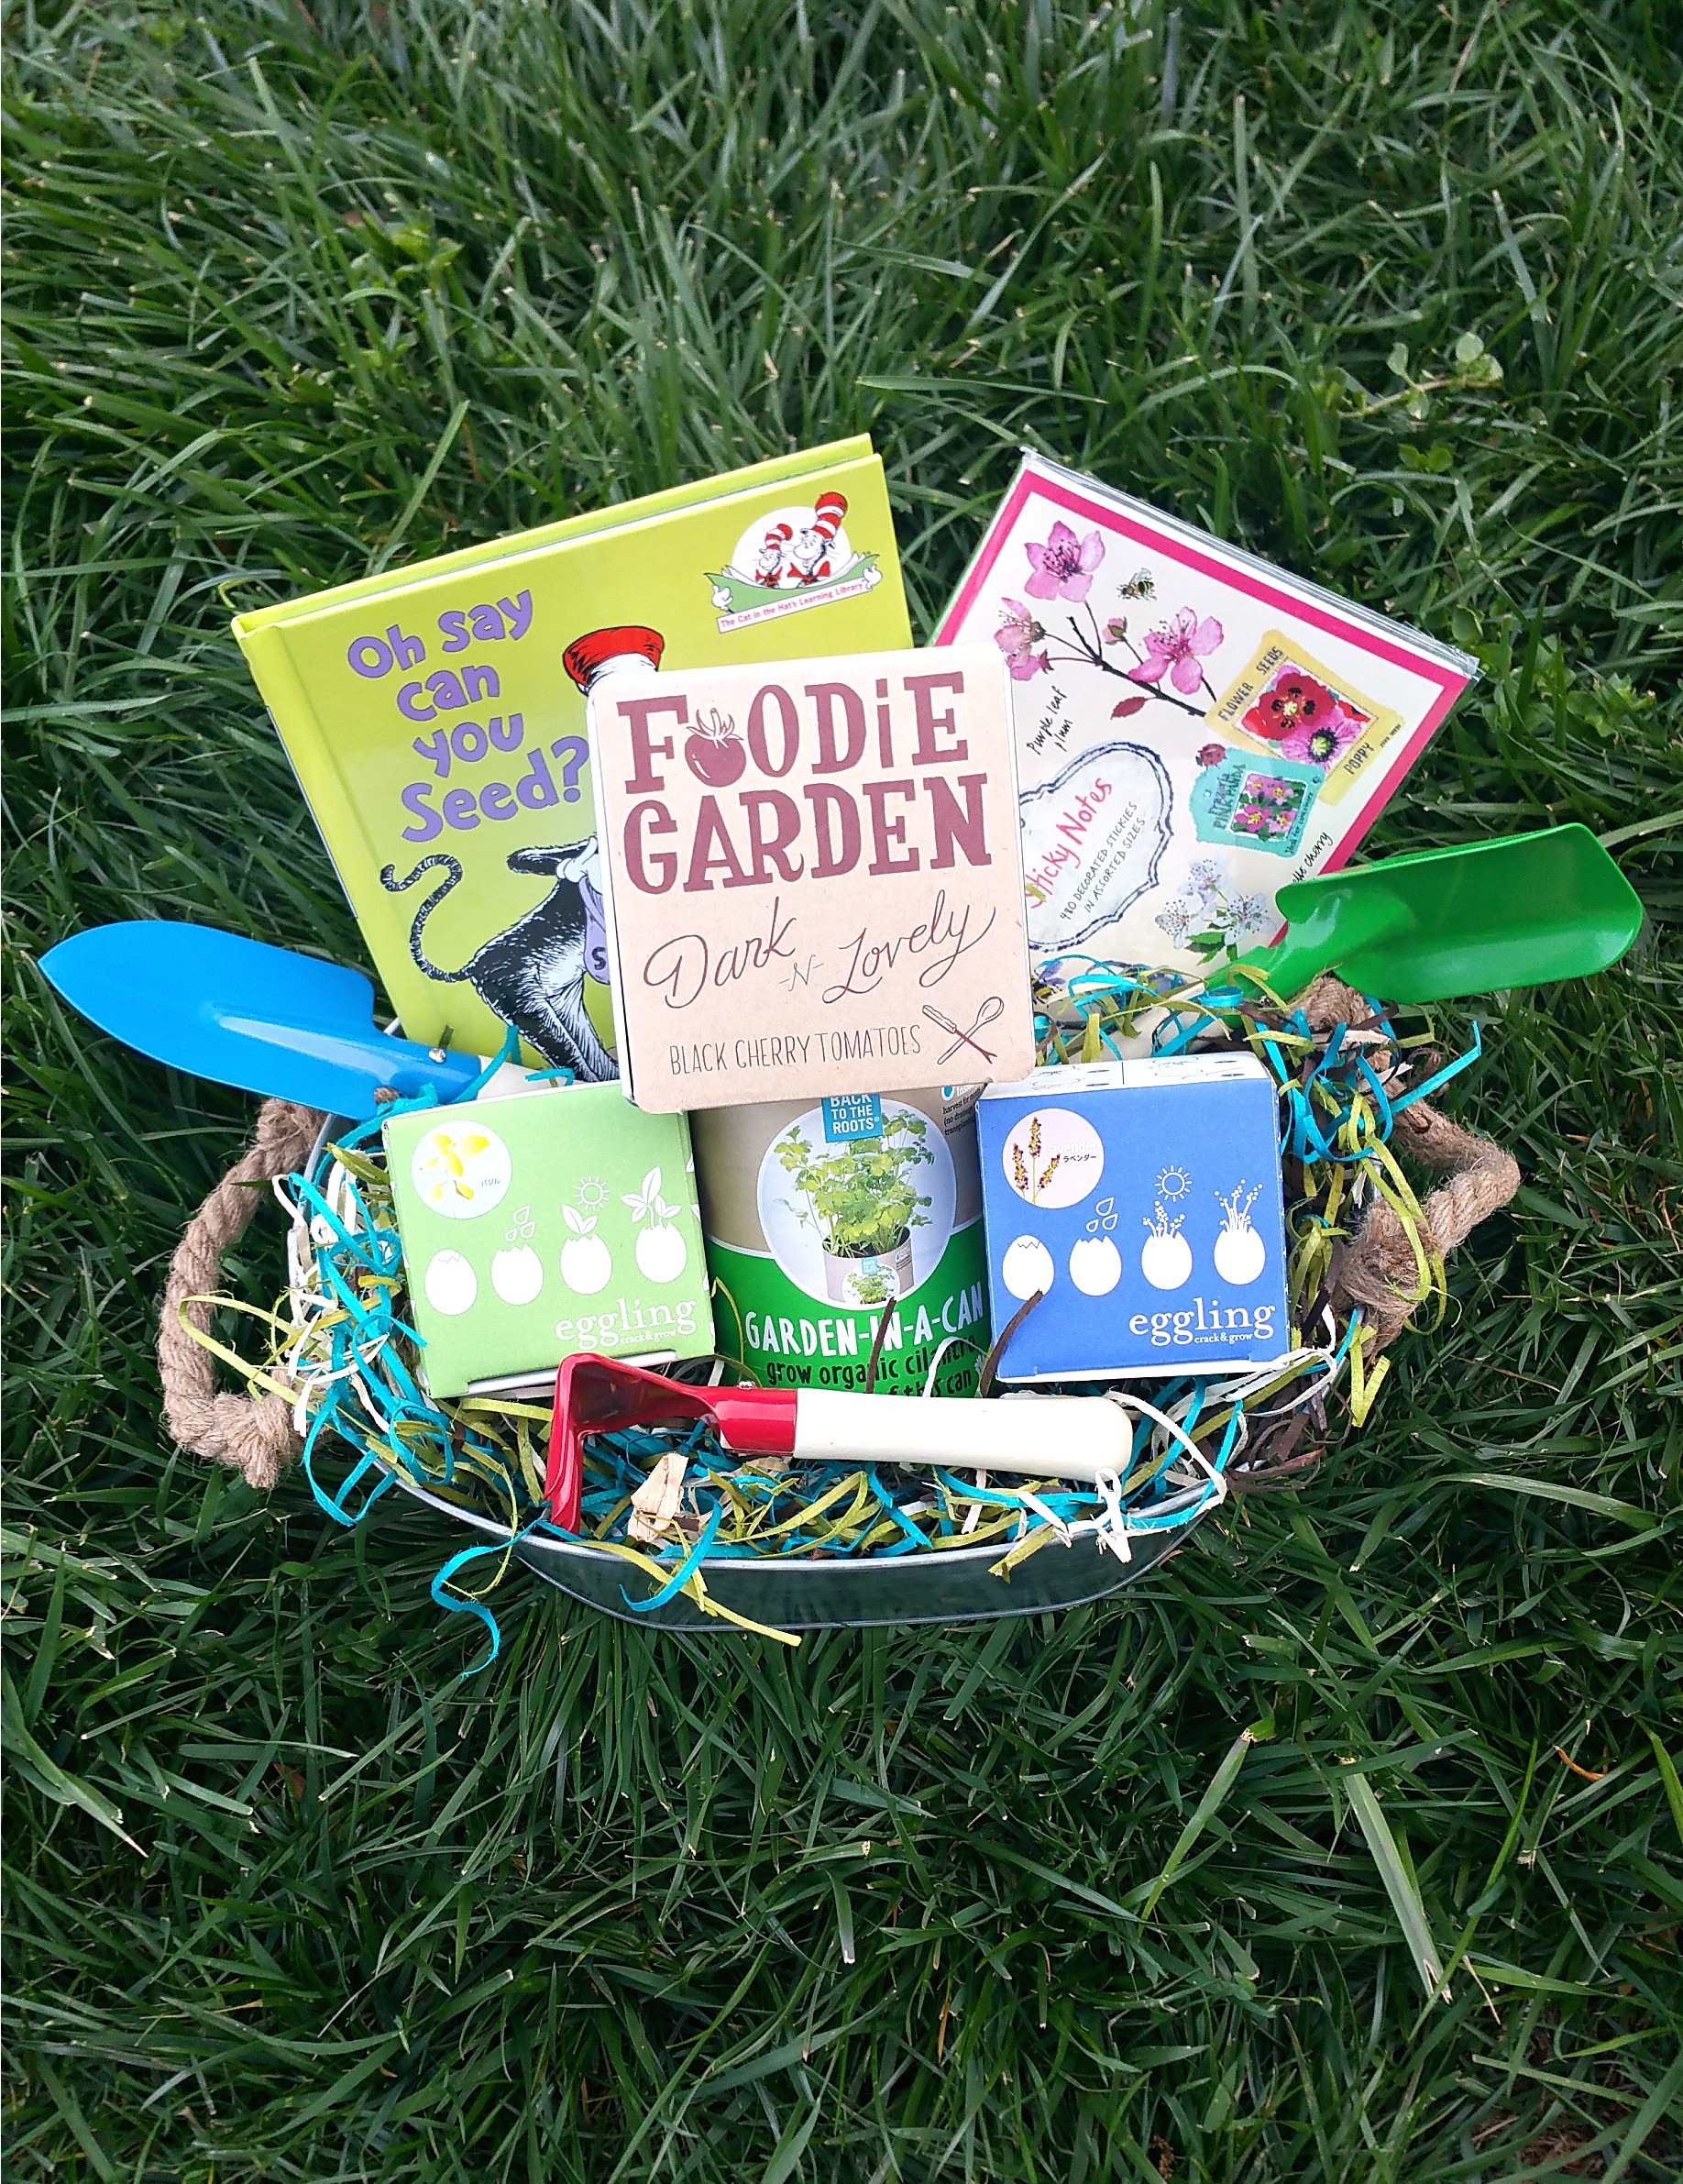
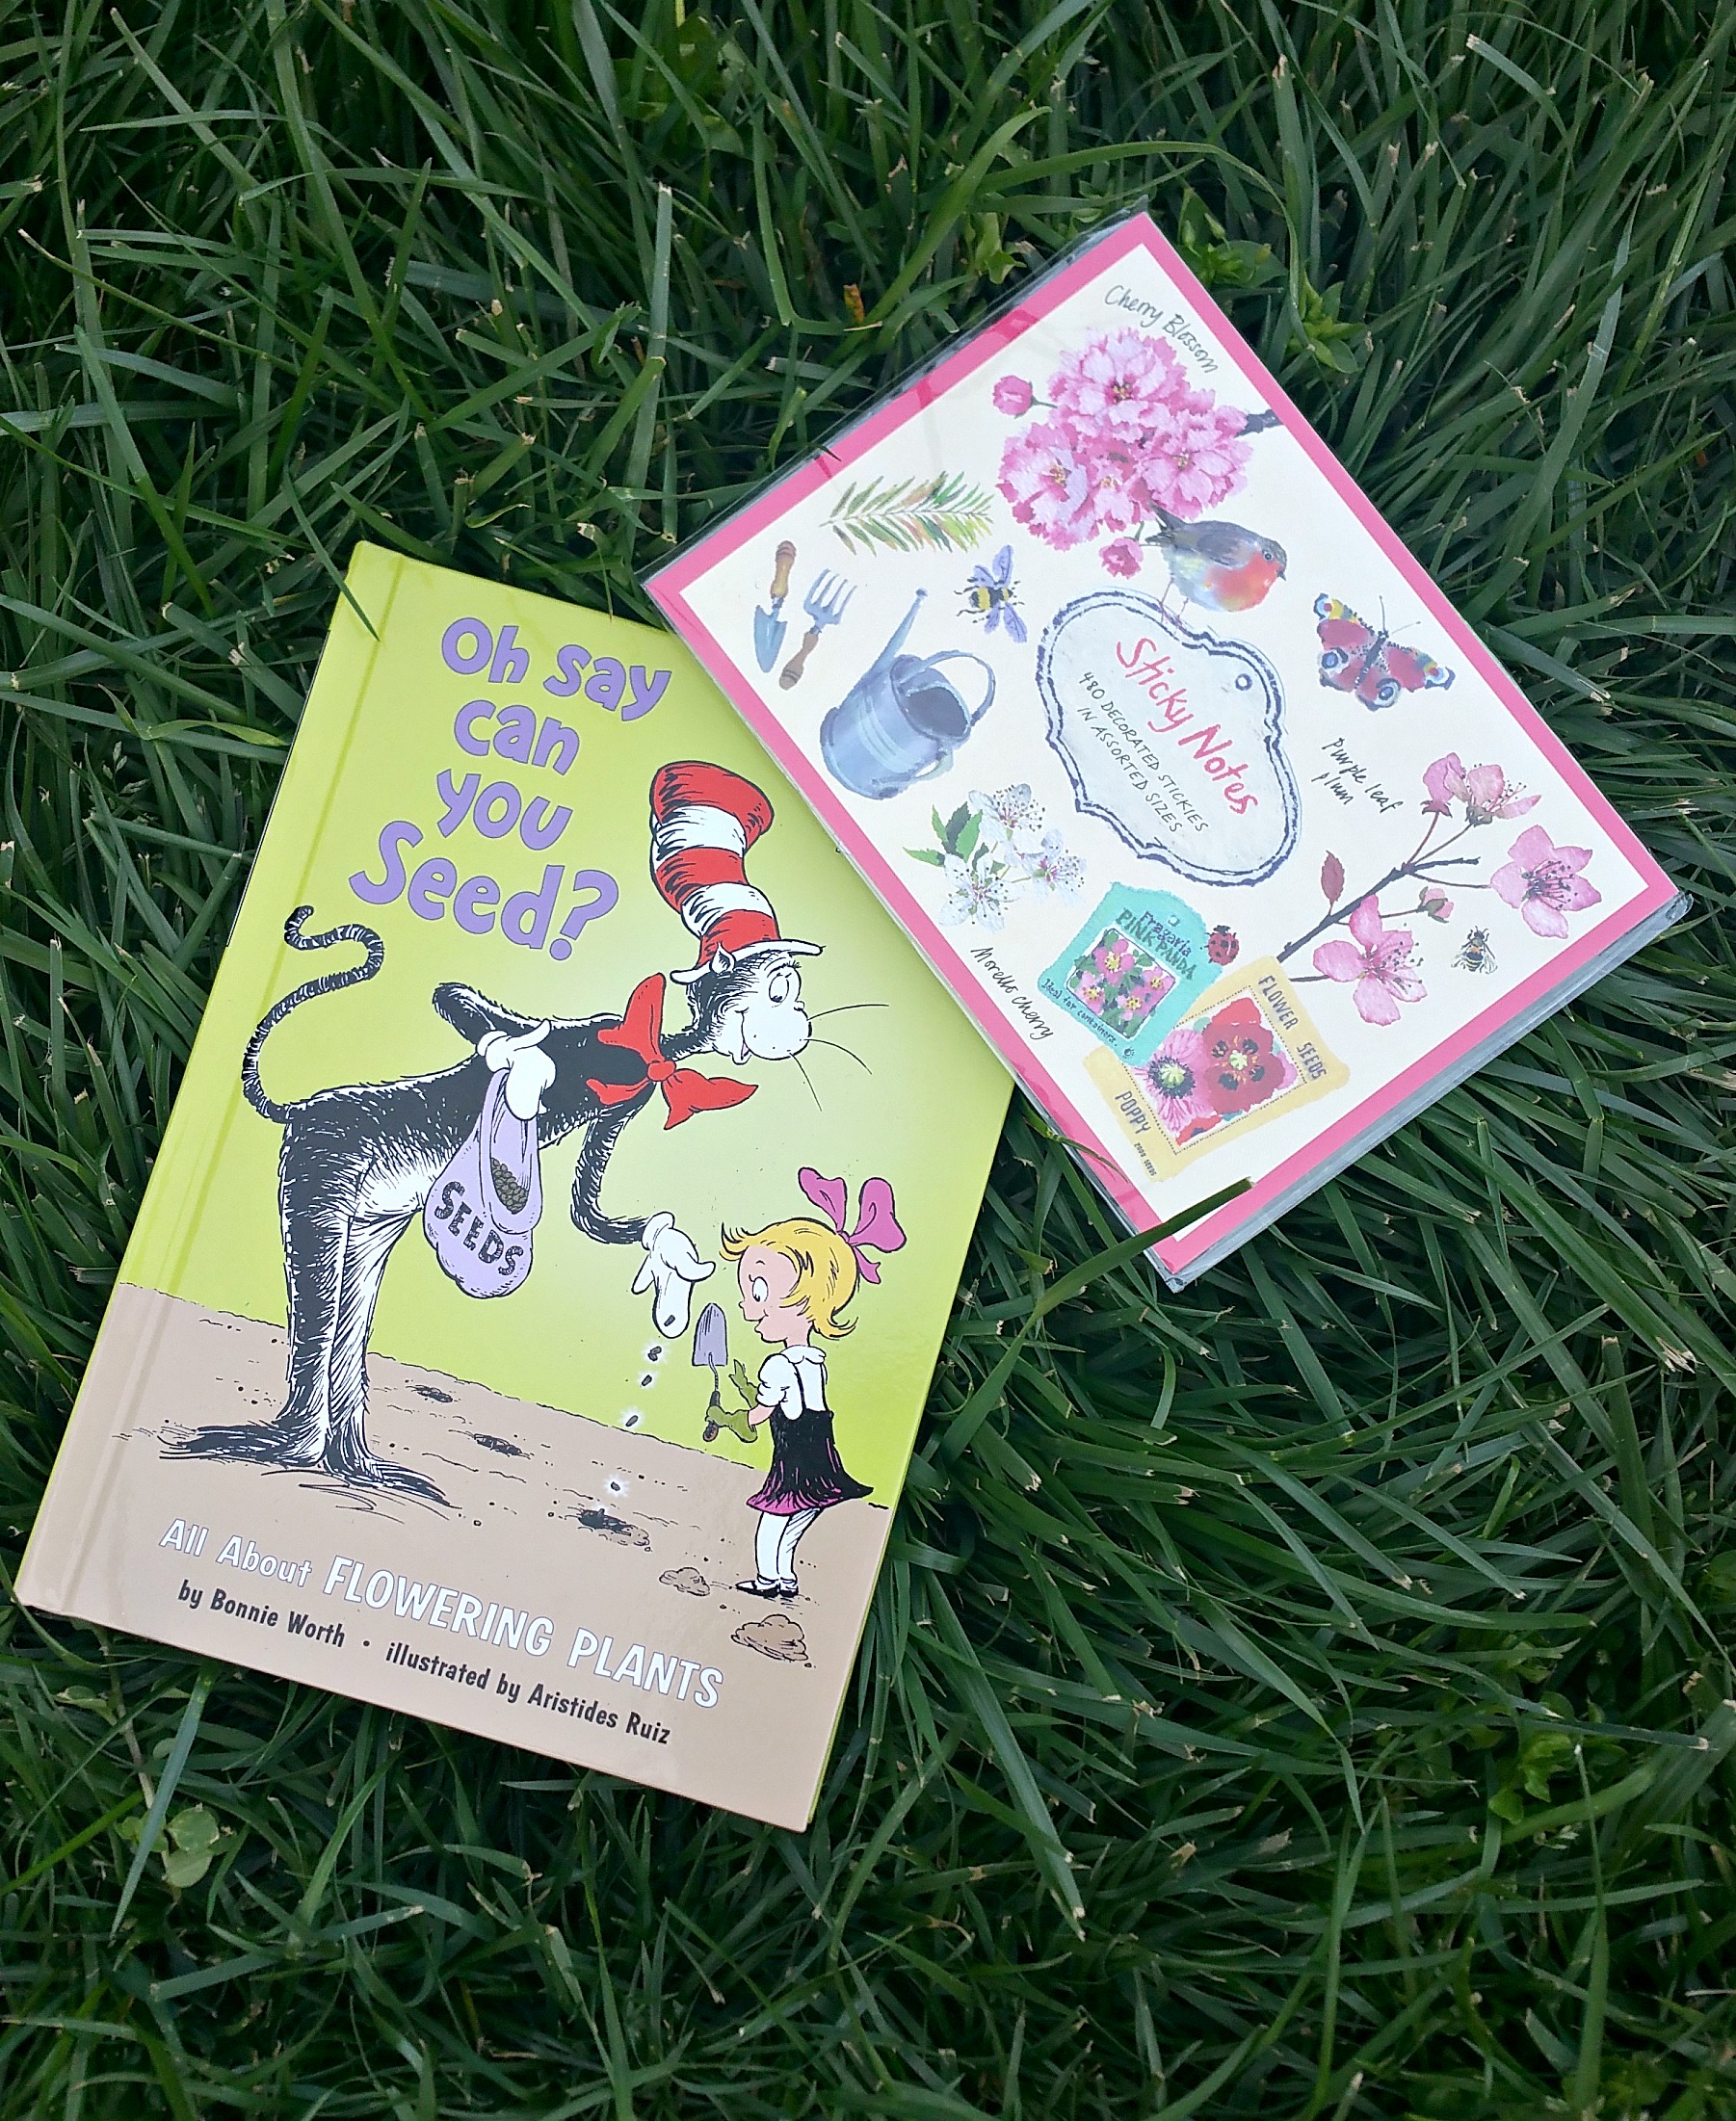
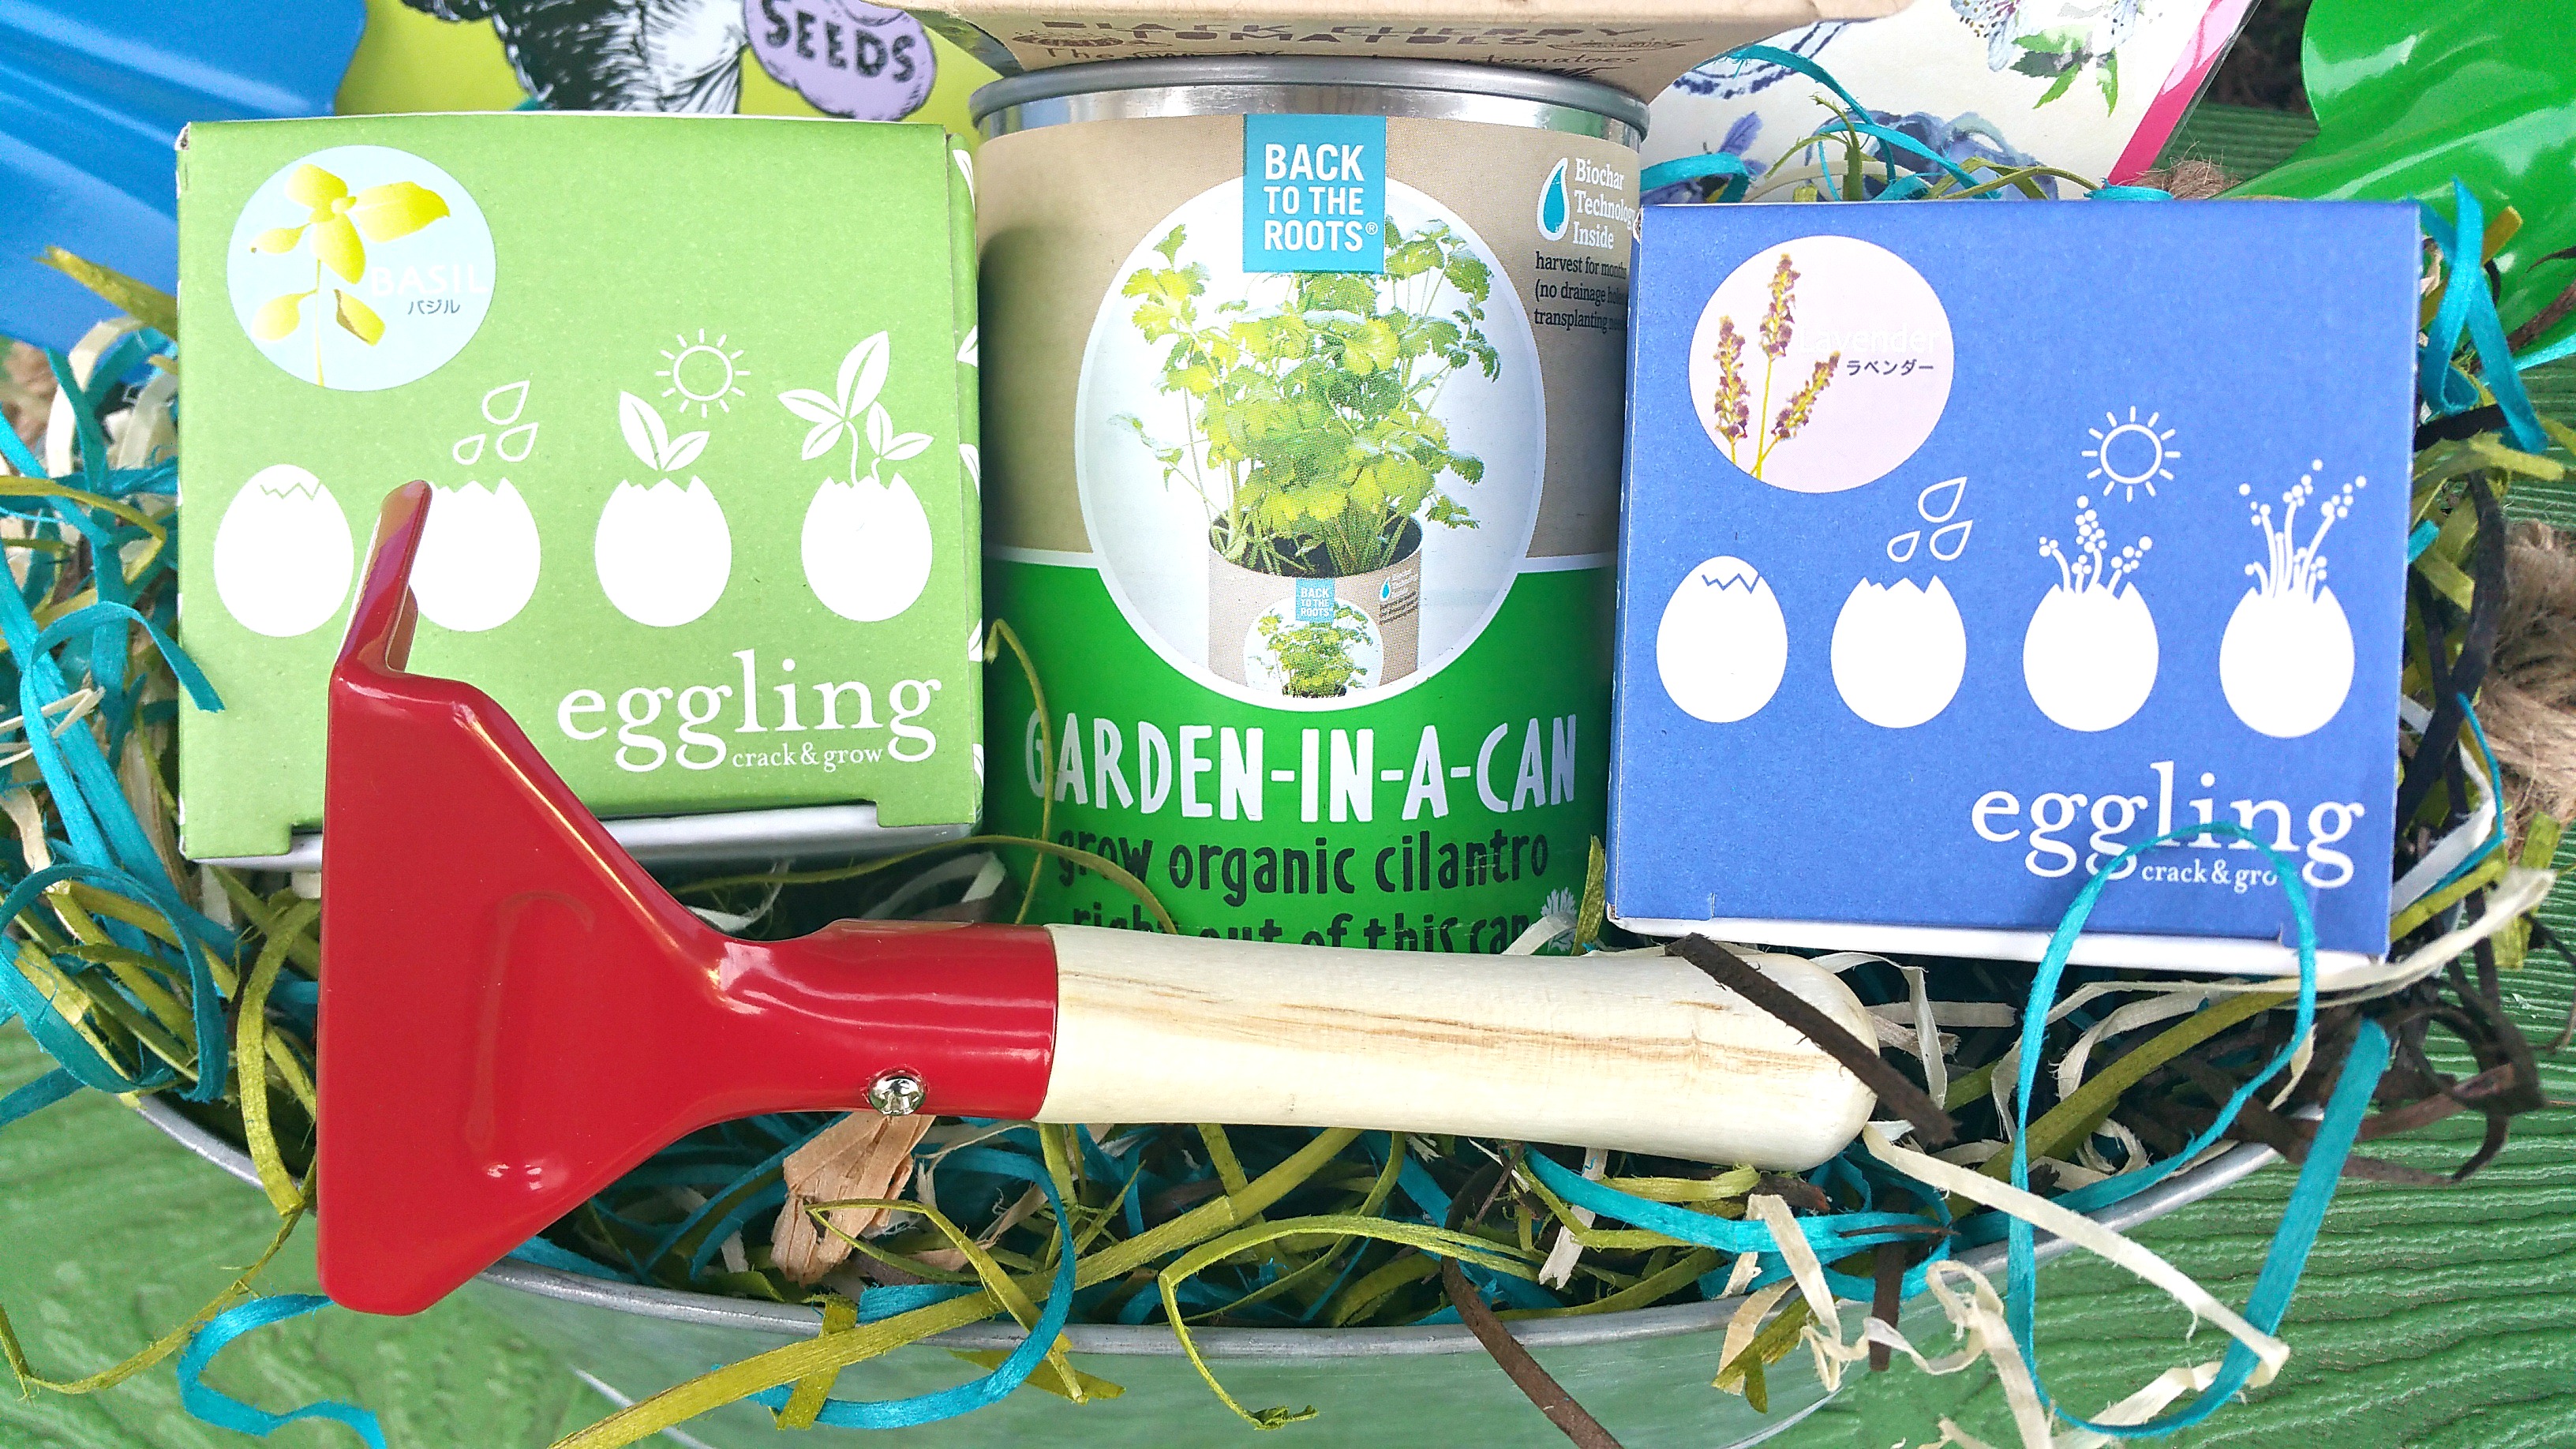
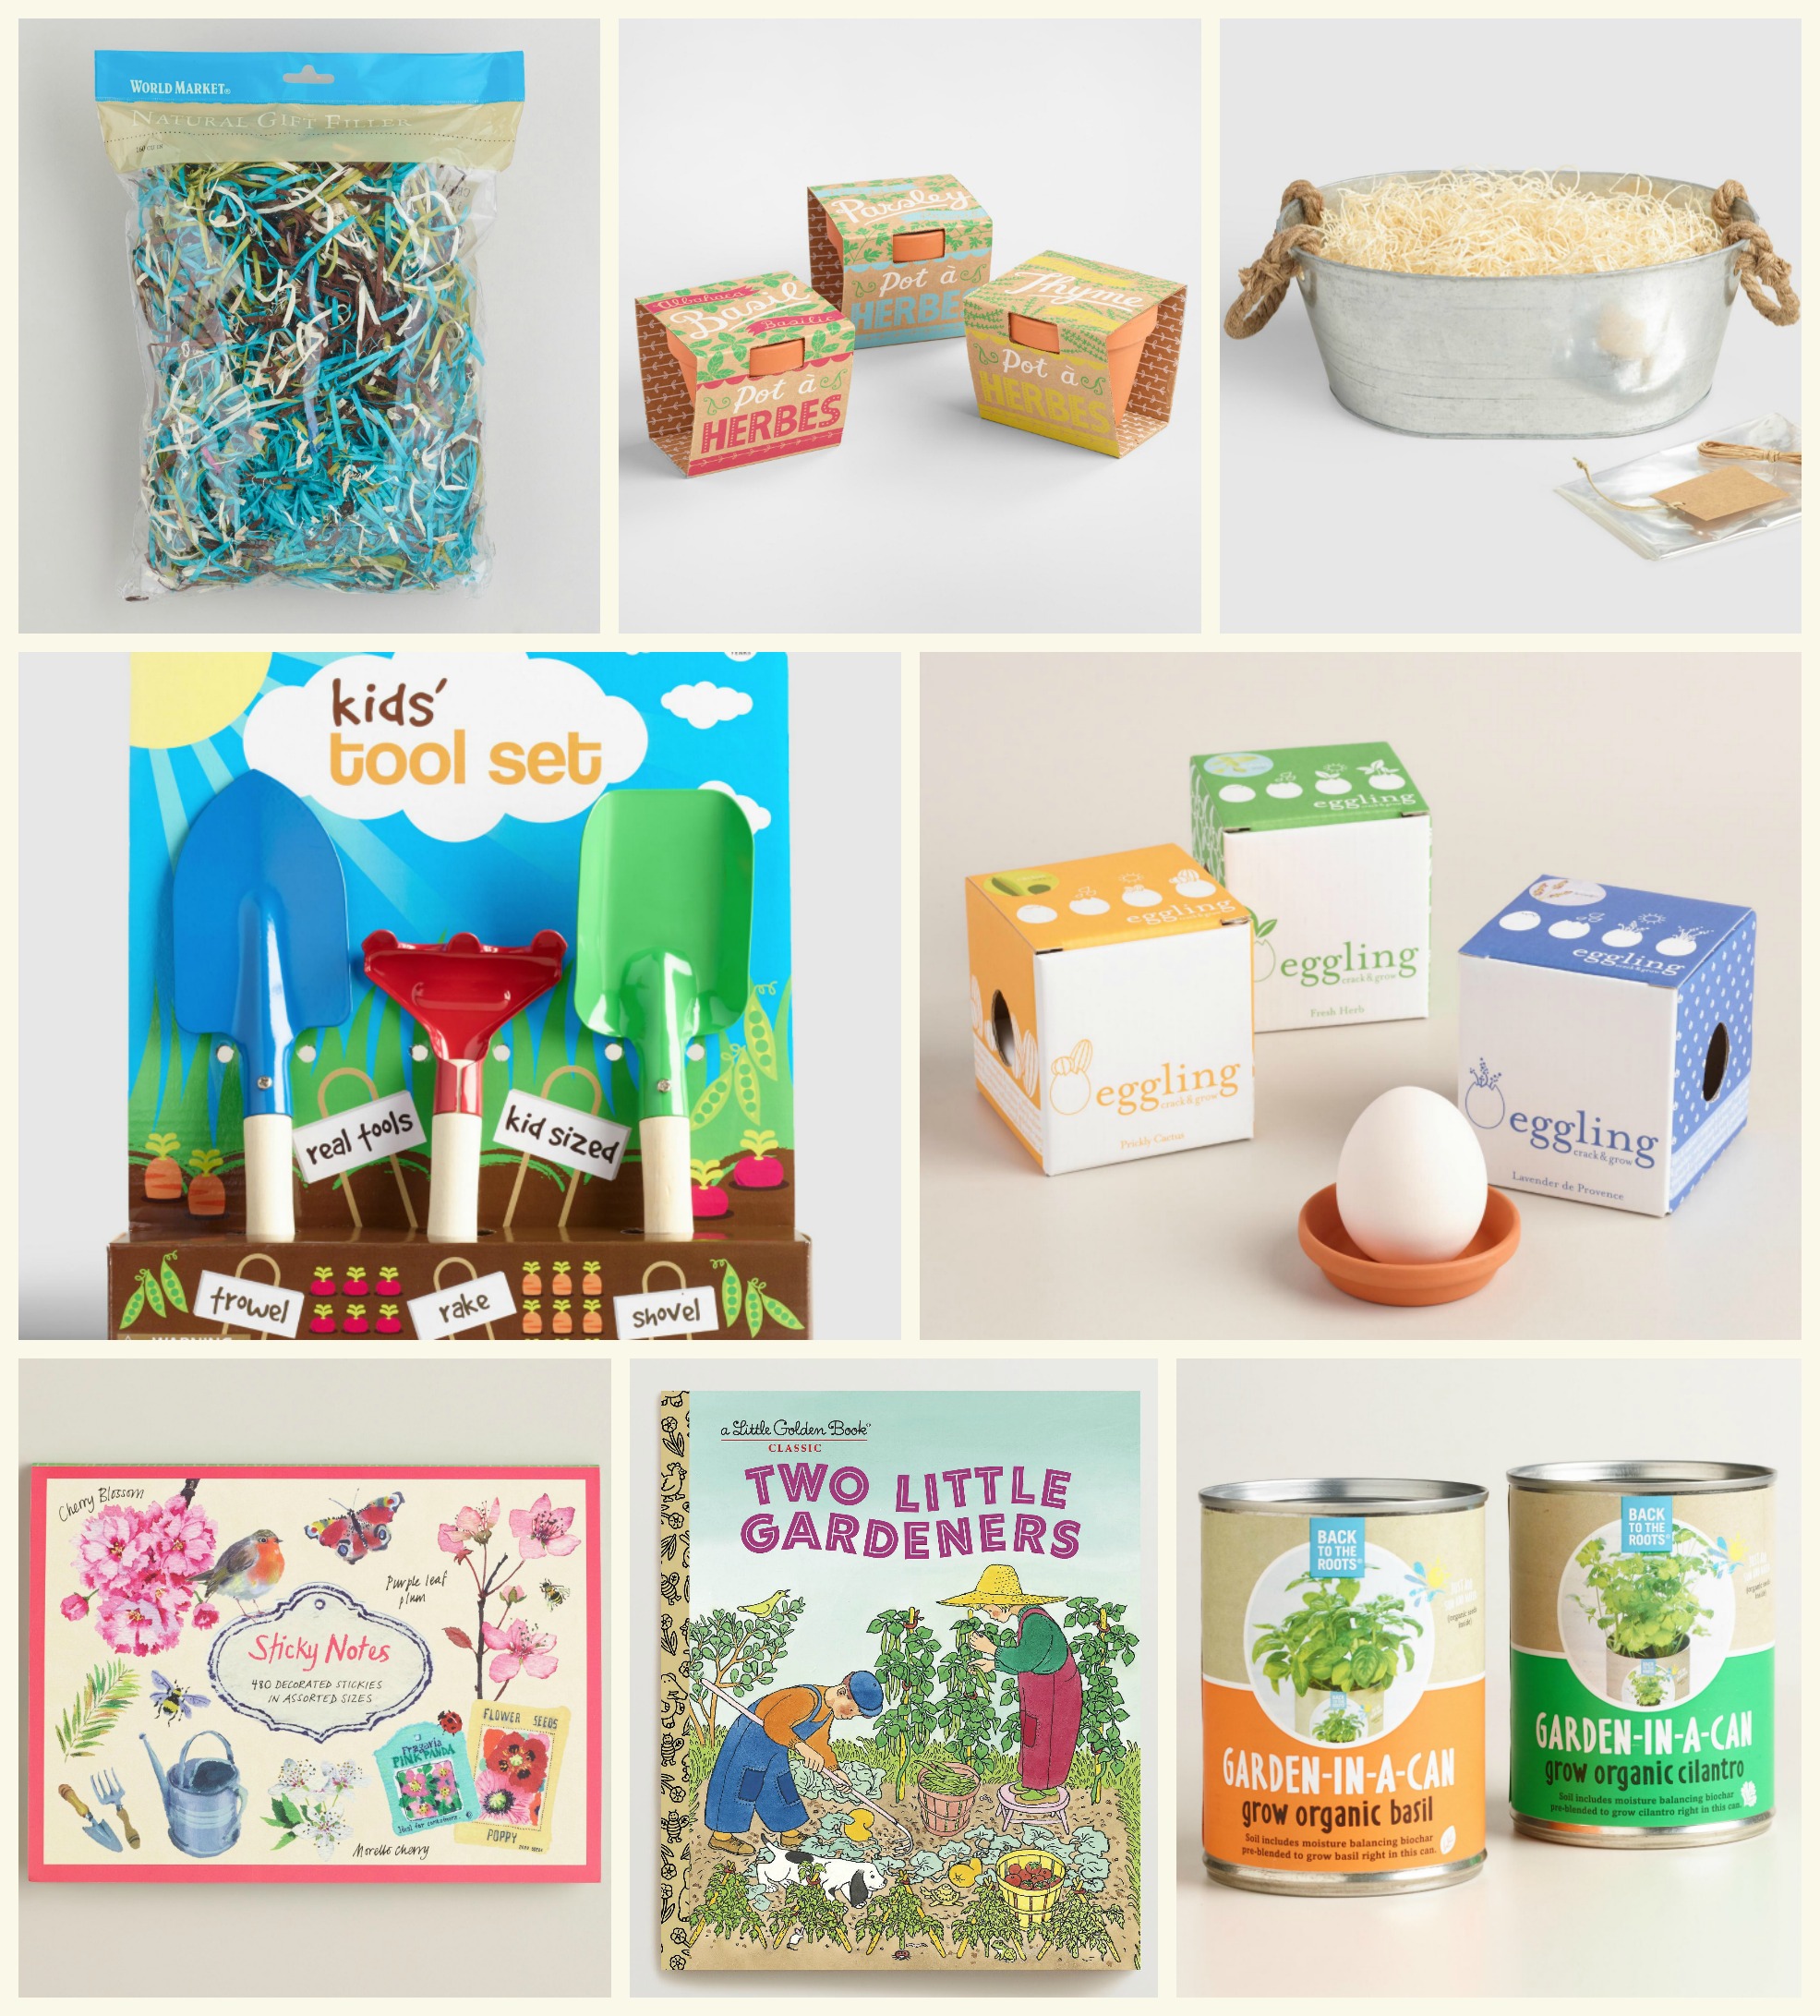
The first step to creating your basket is finding your fillers. You can use anything from gardening tools to Spring decor. For this one, I’ve chosen easy to use kid-sized gardening tools, a book about plants, some sweet Spring sticky notes, potted plant kits featuring tomatoes, basil, lavender, and cilantro as well as a tin pail that will be great for holding all the gardening fun.
Don’t forget to grab some stuffing for under your goodies in the basket. This will help them to stand out when you build your basket and give it a little flair. I like to use either crinkle or excelsior fillers. These are prepackaged and all ready for you to place in the bottom of the basket.
Fill your basket
After finding all the goodies to stuff your Spring Bloom Basket with, it is time to fill it! This is my favorite part, I love organizing gift baskets and seeing my vision turn into reality. First, be sure to place your basket filled in the bottom of your basket. Go ahead and fluff the filler so it really fills your basket, it will scrunch down a bit once you put the items in.
Pro Tip: Use a bit of gifting tape to help stick items together if they aren’t staying in place. If it’s a heavier item, you can use a tad of hot glue but make sure it won’t ruin the items in your basket.
I normally place large items towards the back or on the bottom of the basket. If you’re including books, they work great as a support system to prop gifts up against. You can then gradually grow your basket forwards or upwards depending on how many items you purchased as fillers.
Give your basket
Once you’ve organized your basket the way you want it’s time to gift it! Spring is a great time to create fun gift baskets. Whether for a teacher, a fellow garden lover, a themed Easter basket or just to surprise your own family. Passing along the gift of gardening is one that will continue to give as it grows!
Shop This Post
Like what you found in this tutorial? I grabbed everything featured at my local Cost Plus World Market in the Belgate Shopping Center in Charlotte, NC. Find the items I used below online and at your local Cost Plus World Market Store. Find your store here!
- Earthy Excelsior
- Potted Plants
- Oval Galvanized Basket Kit with Rope Handles
- Kids Hand Tools Set
- Eggling Basil and Lavender Plant Kits
- Cherry Blossom Garden Sticky Notes
- Gardening Book
- Cilantro Organic Garden in a Can
Leave a Reply