This post contains affiliate links for your convenience. All opinions are my own.
Sensory play is a major part of development for kids of all ages. It includes any activity that stimulates your child’s ability to touch, smell, taste, move, balance, see and hear. Sensory play is the perfect way to get kids exploring and naturally discover the scientific processes while they play, create, and investigate.

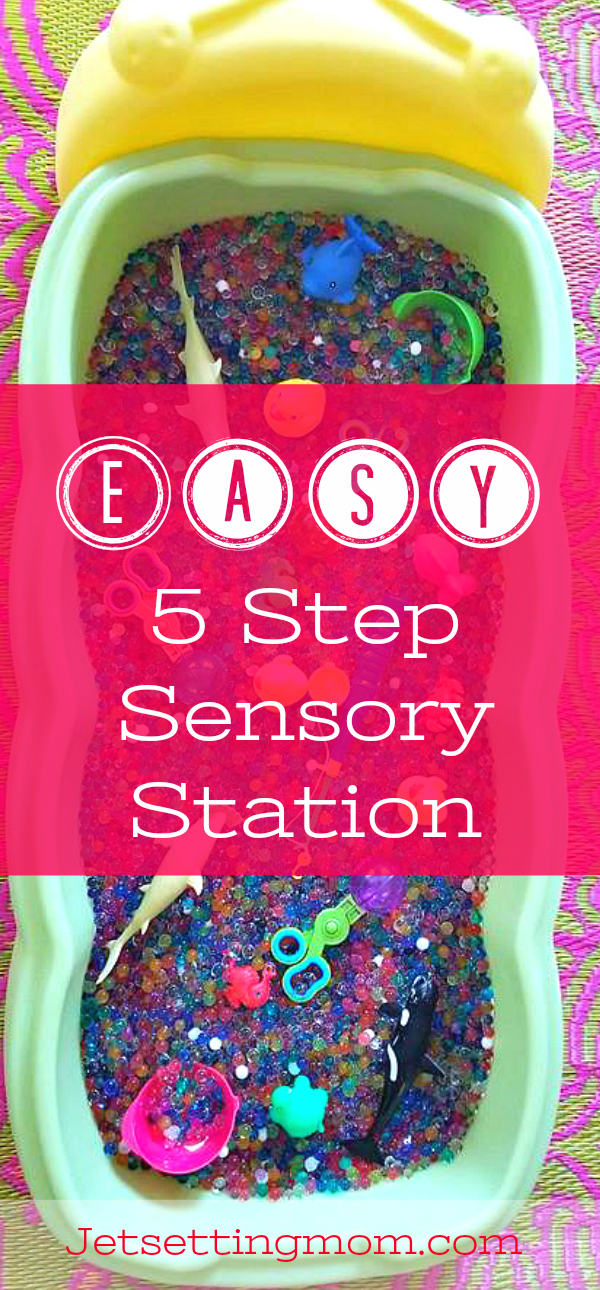
Creating your own sensory play station is a great way to keep young imaginations blossoming. Take a look at how you can create one at home in 5 easy steps.
1 ) Find the perfect play box
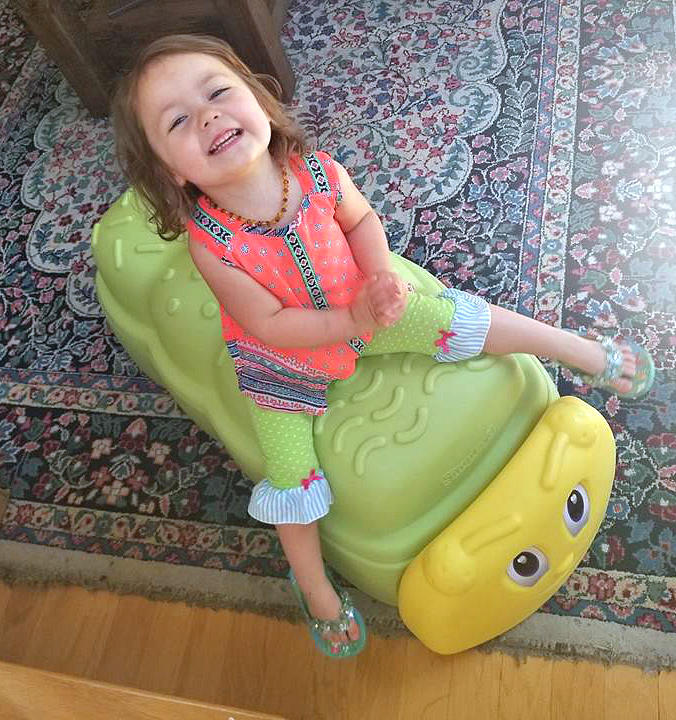
Finding the perfect container for your sensory station is crucial. Make sure you go for one that fits the style of play you’re going for and your family lifestyle. We have 3 kiddos in our family so I needed one that would allow them to all play comfortably.
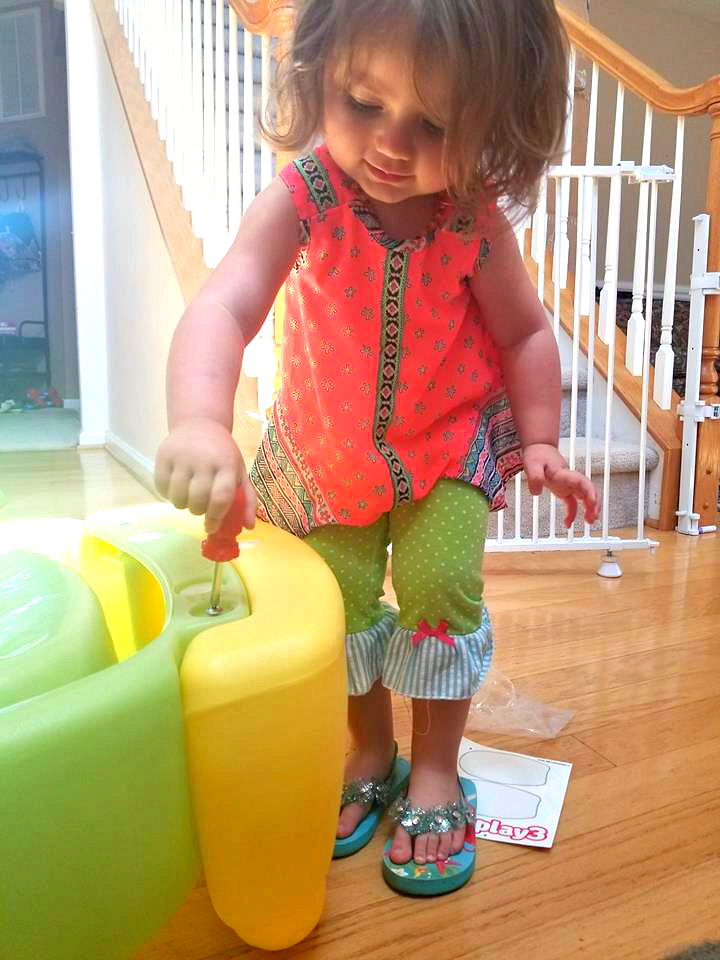
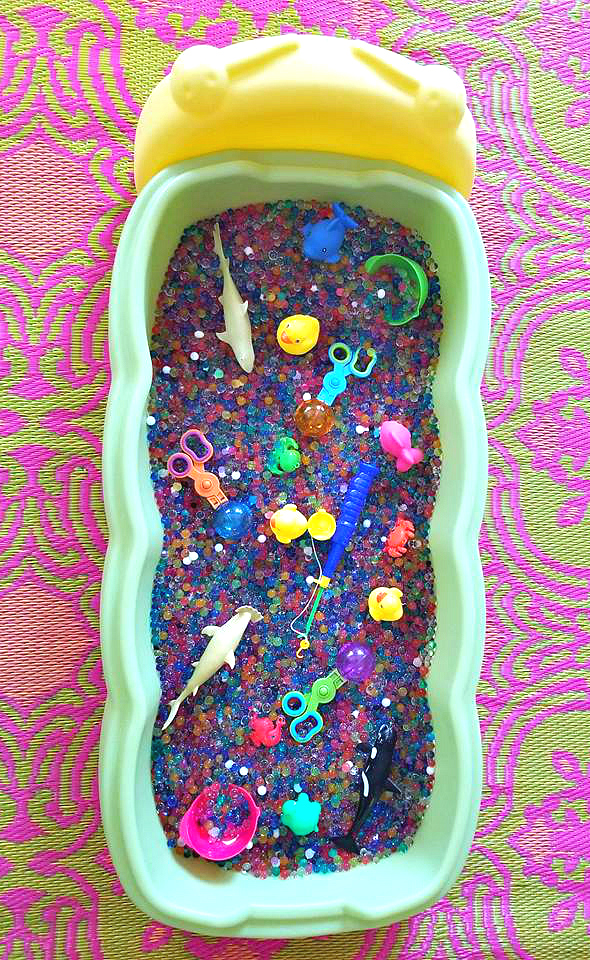
This Caterpillar Play Box by Simplay3 was perfect for our needs. It also came with a lid which made storage and cleanup easier. My 2-year-old was even able to help me assemble the Caterpillar Play Box, all 2 screws it took.
2 ) Decide on the sensory element

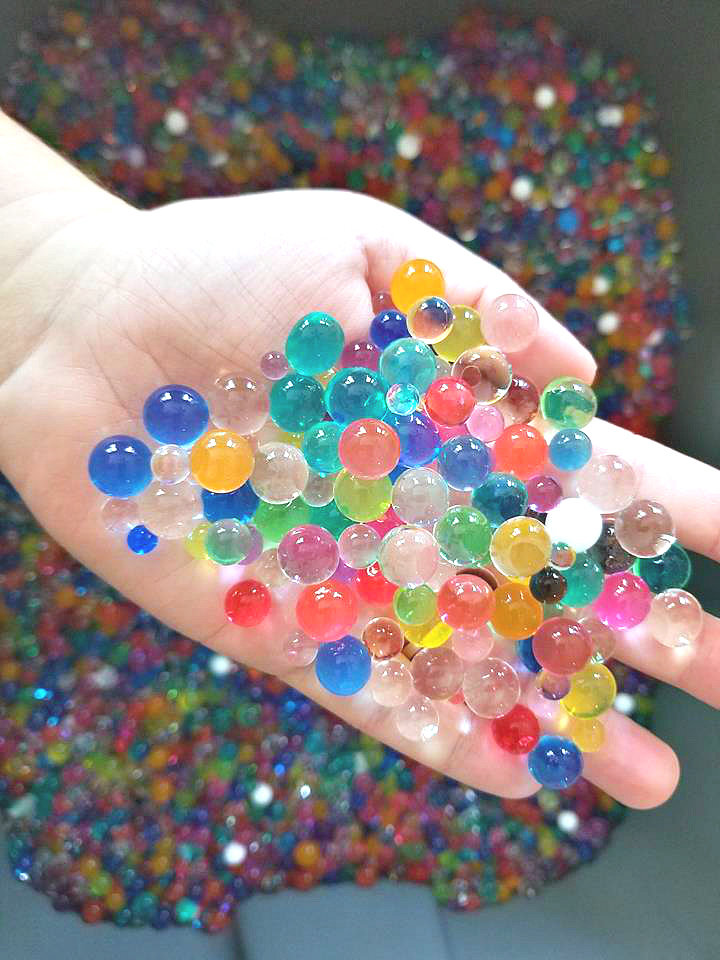
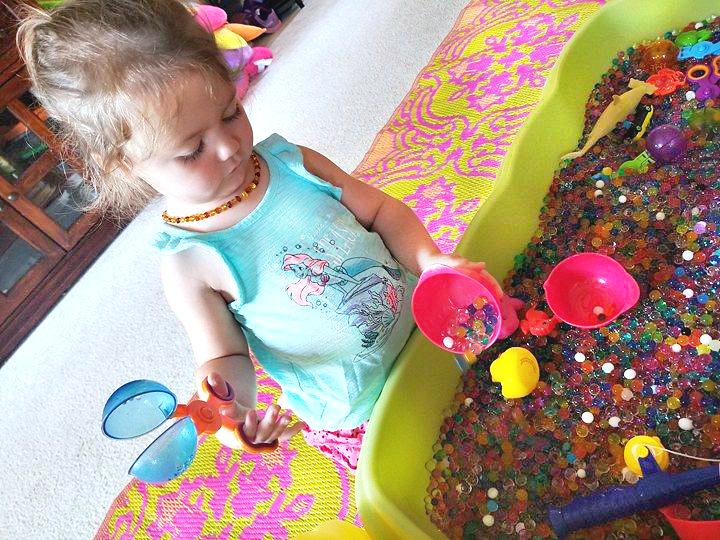
There are so many options to go with when setting up a sensory station. Rice and beans are pretty popular, marshmallows are always fun, but we decided to go with water beads. Water beads are a unique medium that kids will love, plsu they are non-toxic and reusable! Combining science with fun, they start off super tiny and when added to water can grow to 10 times their size.

My kids and I were so excited to watch the water beads grow. I used two bags of 16 oz water beads. I dumped one bag in a 20-gallon tote and added water and then gradually added the other bag over the course of 3 hrs. This gave us different size water beads and filled the tote a little more than half way when they were done growing.
3 ) Find the best spot for your sensory station
Once you have your sensory element picked out, choose a good place to put your station. Depending on how large your station is you’ll want to place it where kids can play the best. Keep in mind that your station contents may spill out from excited play so if you have a messy sensory element like shaving cream, you may not want it on a carpeted area.
I placed our sensory station on one of my awesome, Rio outdoor floor mats. These mats are a mom’s best friend when it comes to indoor and outdoor play! They come in different sizes and are super easy to clean, I always have 2-3 on hand.
4 ) Add extra play elements
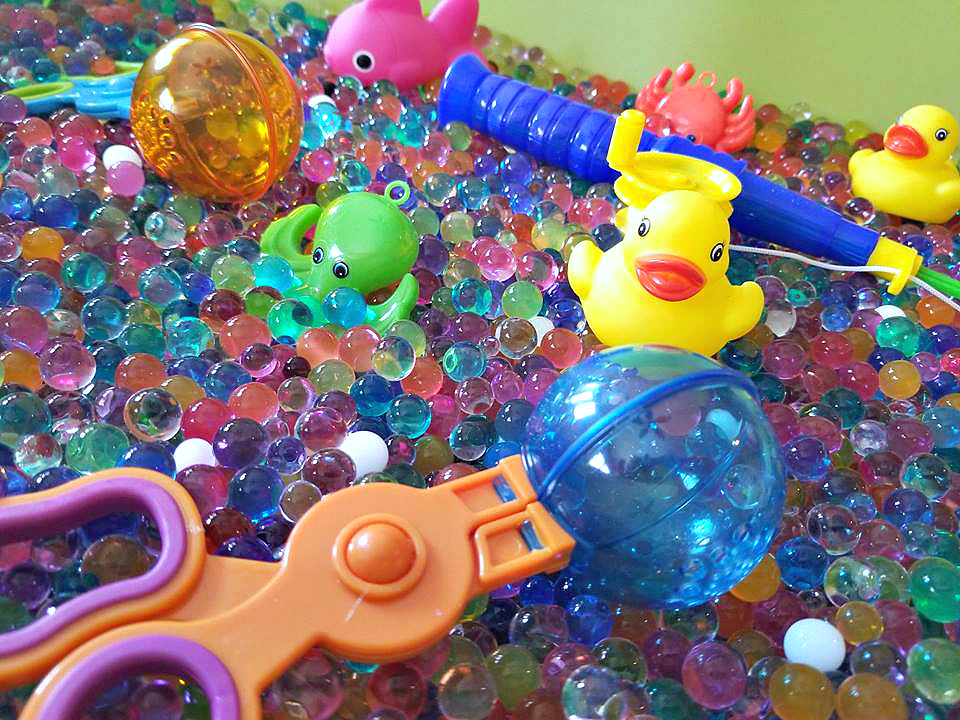
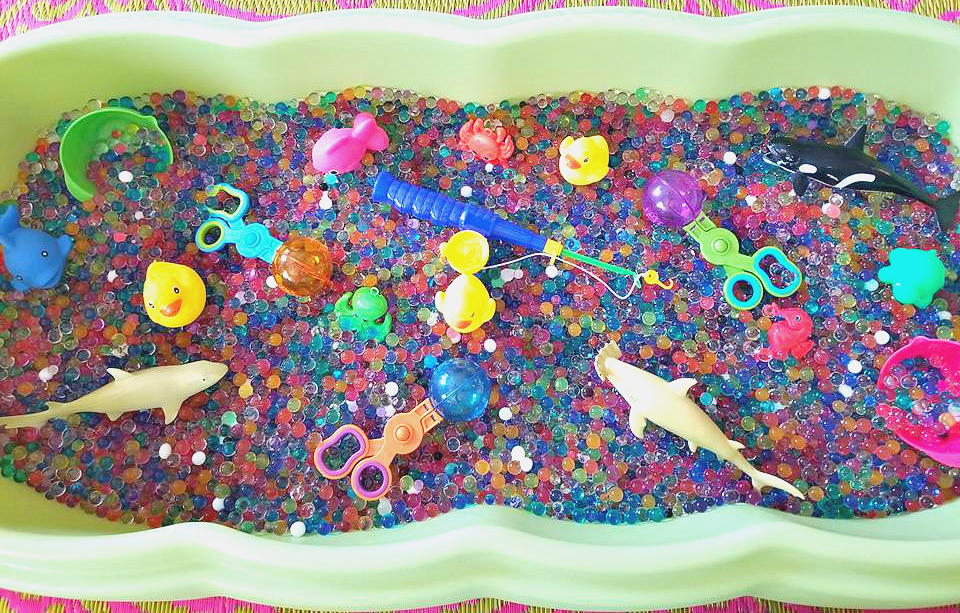
Create a themed sensory station by adding different playable elements such as toys, bowls, grabbers or cups. I stopped by our local dollar store and found lots of great toys and little bowls for playing with. I also grabbed these awesome Handy Scoopers which are great for tuning fine motor skills.
5 ) Get sensory playing!
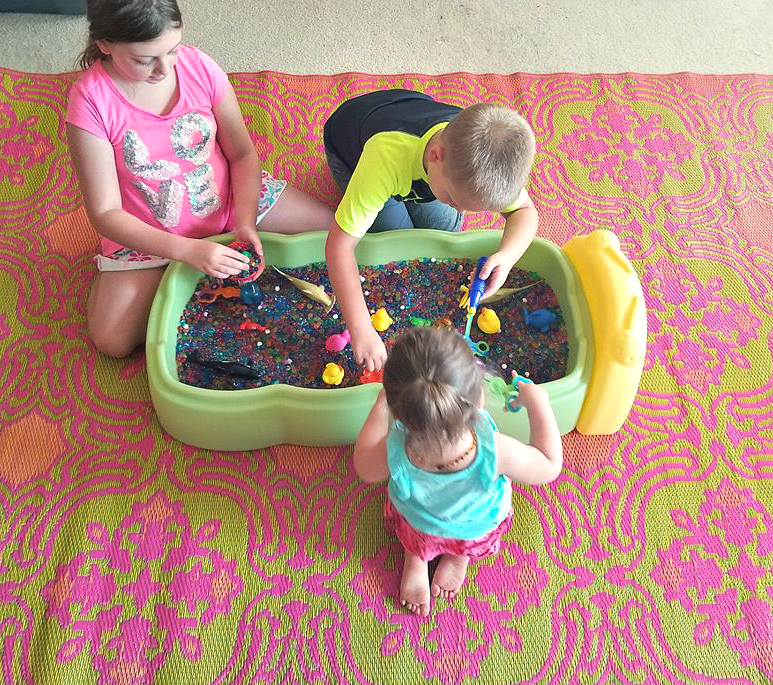
Once your station is all set up get playing! Kids of all ages will love feeling, squishing, scooping, learning and exploring with their senses as they play. My 2,6 and 7-year-olds were so attached to our sensory station that they played for hours!
Sensory stations are great for so many different tactile learning activities. You can hide toys at the bottom and have a treasure hunt, ask kids to find certain colors or shapes, create a story and animate it through the toys and so much more!
What kind of sensory station will you create?
Leave a Reply